
Posted by Udi Tirosh on 19th Sep 2016
DIY Reviews SmallRig's SONY A7II, A7RII, A7SII Camear Cage and loving it
We got our hands on a SmallRig’ Sony A7II camera cage (its good for the A7II, A7RII & A7SII) , and we love it. I am going to go and break it down and explain the impact it has on my workflow in a second, but first…
Of course to review a cage, I would first have to explain why one would need a cage in the first place. And if you have never done any filming with a DSLR and mirrorless, you may be asking yourself the same question. So before I get to the review let me explain:
WHY A CAGE?
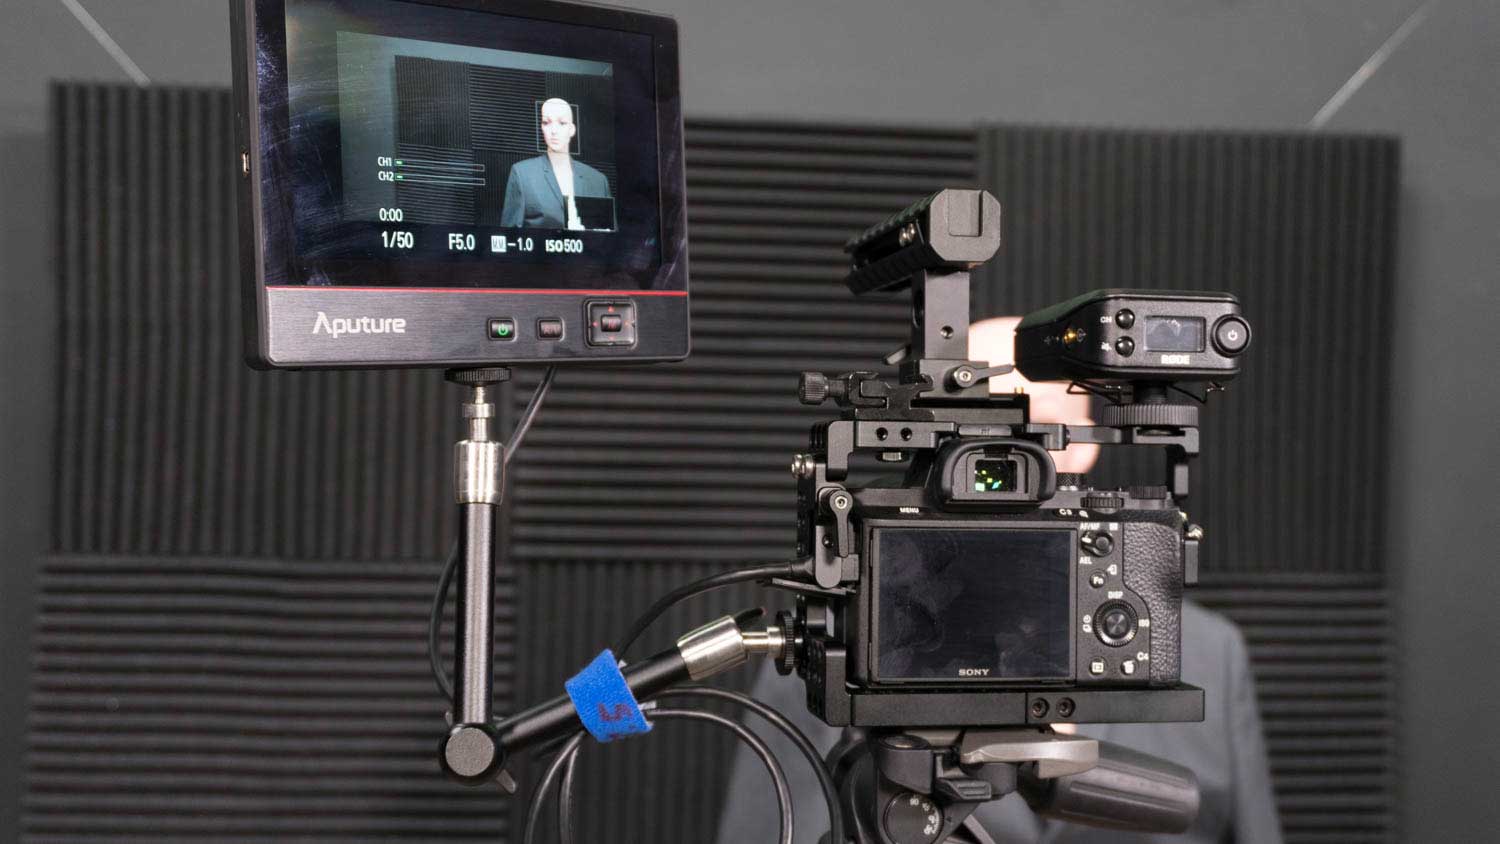
When I just started shooting video, I did not need much. I had a Sony A7II for a camera, and a Rode filmakers kit for audio. I was kinda perfectly ok with mounting the camera on a tripod or monopod and putting the Rode receiver on the hot shoe.
Slowly but surely my gear list expanded. I added an LED light, a Tascam recorder and a field monitor. Suddenly there was no place for all of them on the camera. I mean I could place each one of the accessories on the hot shoe individually, but then I would be limited to only using one piece of kit. The other thing is that I really did not feel comfortable placing a monitor with a big NPF battery on the hot shoe. I just seemed too delicate.
The other thing is that I found myself going out more and wanted to make sure my camera is a bit more protected.
And this is where a cage comes in.
The SmallRig Sony A7II Camera Cage
When I did my research SmallRig kept popping up as a good and budget friendly option. I took the jump and got a kit. I got the Sony A7II Cage kit which also includes an HDMI lock, top handle and rails. There is another option, Sony A7II cage 1660, which is the bare cage only, and costs significantly less. (SmallRig, you really wanna do something about your naming standards, those numbers are killing me).
The cage is actually an aluminum frame, a very thick one, that goes around the camera. It provides several functions that filmmakers need:
- Additional mounting points – I did not count, but the thing looks like swiss cheese. (Hey, maybe that’s why they call them cheese plates). There are more 1/4"-20 threads on this thing than you will ever, ever need.
- Camera protection – The cage is built like a tank. This was actually the first thing I noticed about it. It is made from 6mm thick aluminum and this is thick! The other thing is that this is a cage that was built around the A7x series so it fits really snug around the camera.
- Rails – If you need to add a follow focus or other rail mounted accessories
- Top Handle – The top handle can be mounted and dismounted pretty easily without any tools. It makes taking low angle shots really easy.
- HDMI Lock – This little bit protect the HDMI cable that goes into a field monitor. It projects your camera HDMI socket from damage. A bit more on that later.
The cage
The cage is the heart of the system. If you are going to be adding gear to your kit, the cage would be what those pieces mount on, so getting a good cage, can set the difference between a rig you’d enjoy using and a rig that you will make you sigh when you need it. SmallRig’s
Sony A7II cage kit definitely belongs to the first class of cages.
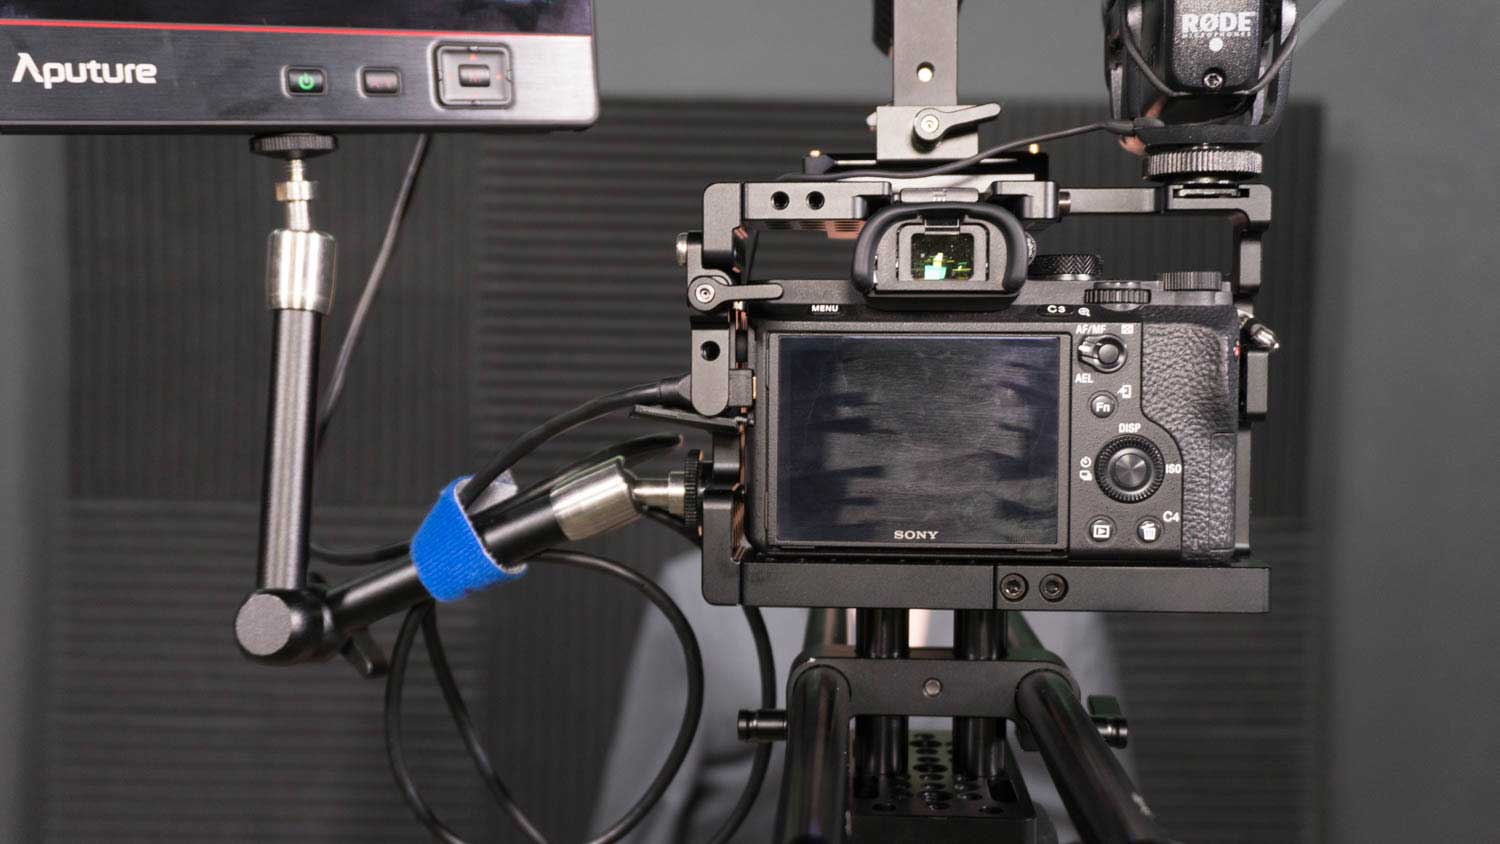
The cage is built specifically for the Sony A7x series so there is very little gap between the camera and the cage. This is great if you are seeking protection and additional mounting points. Just bear in mind that if you now want to hand hold the camera, there is no comfortable way to do so without additional grip handles.
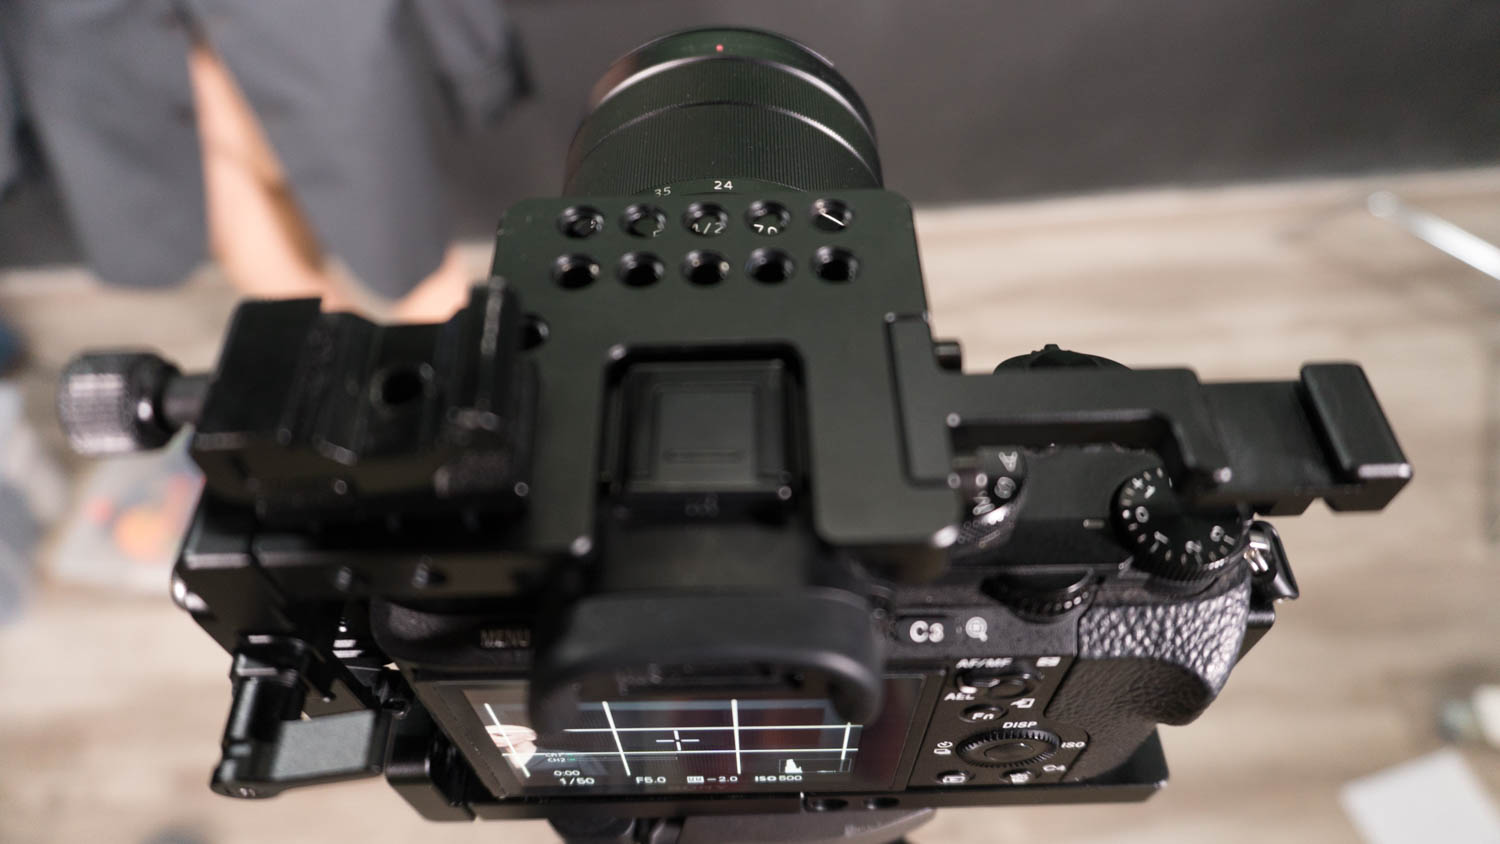
The top of the cage has rows and rows of 1/4"-20 threads which you can use to mount just about any accessory you can think of. It also has a groove for the hotshoe (this is how tight it is). There is also an additional cold shoe mount (that you would usually use for an LED panel or microphone), and a place to mount the top handle on.
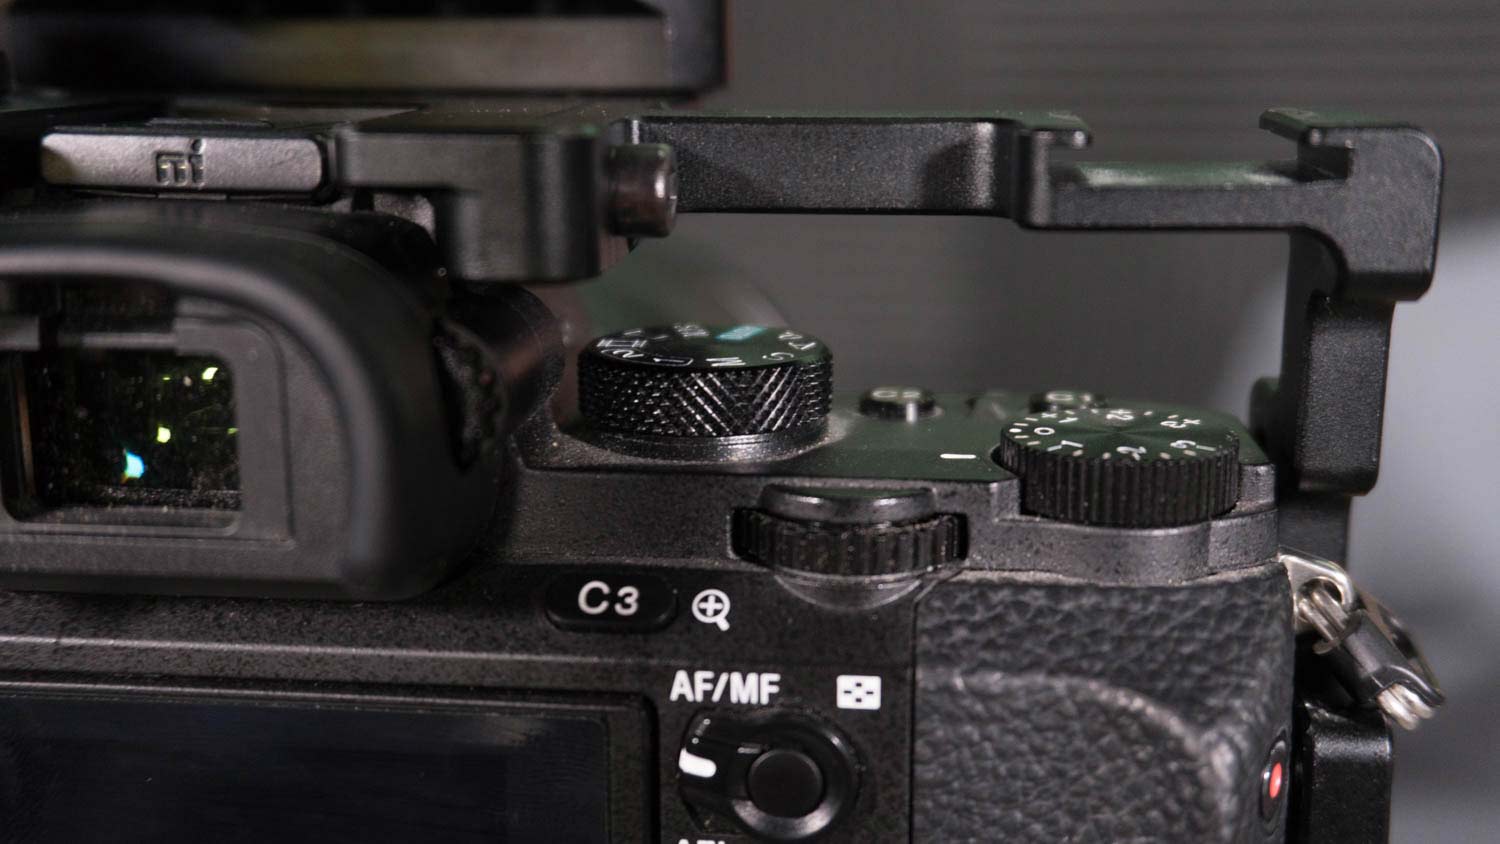
The cage is snug, but not that snug to keep you away from the controls, there is plenty of room to access those. This means you will not have to fight to click the shutter, record Cx button or change any of the dials.
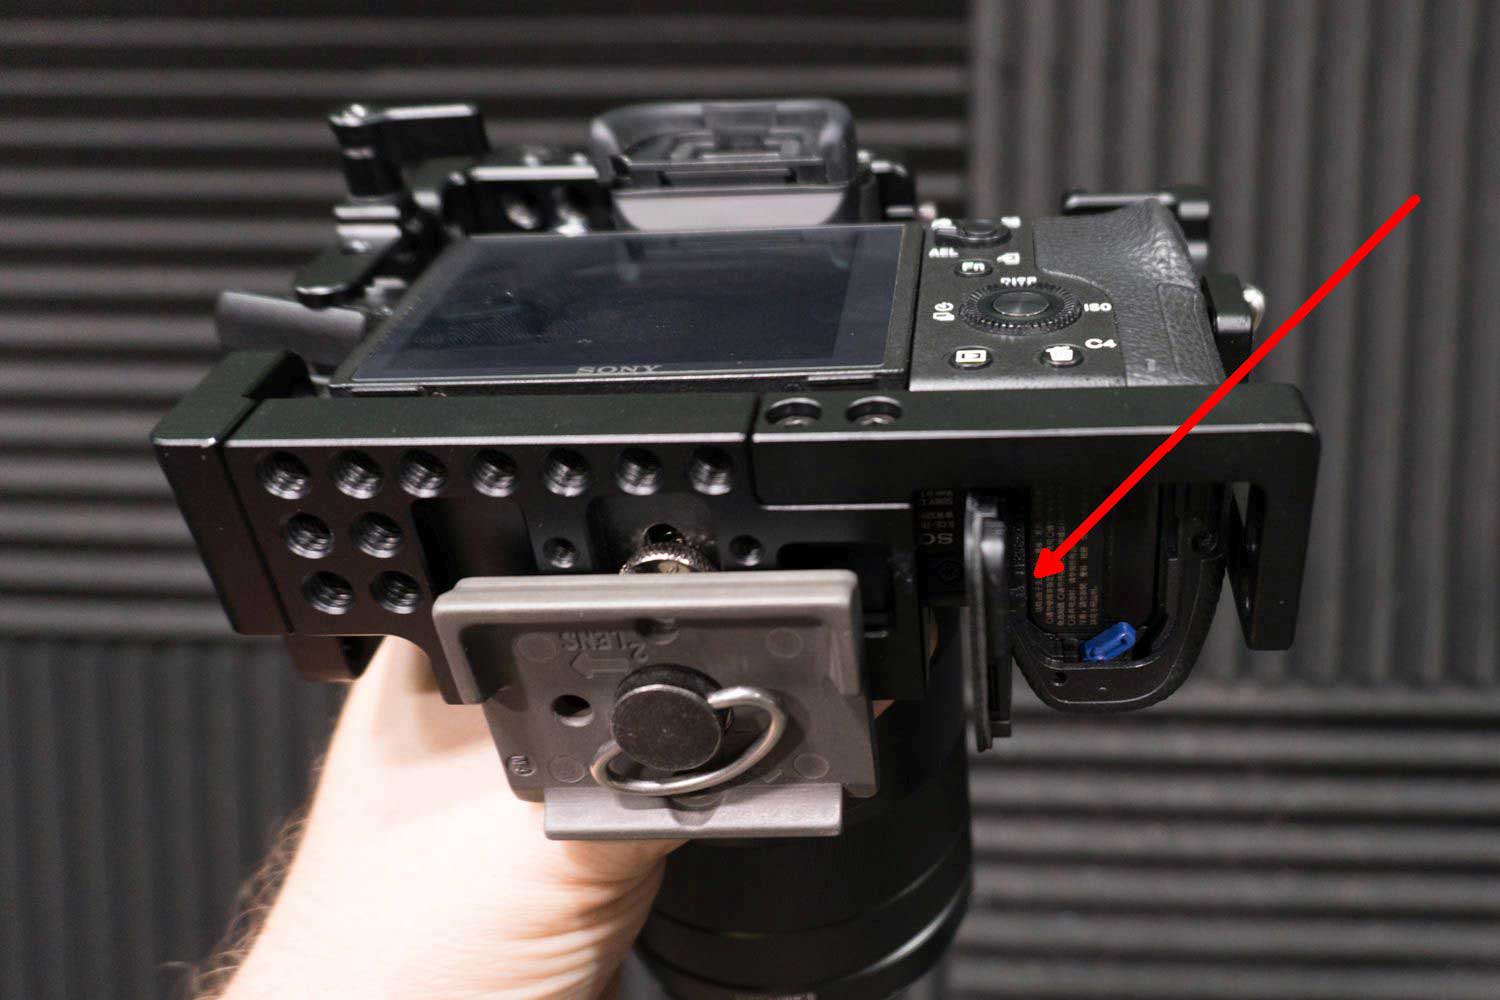
Both sides of the cage have (wait for it…..) more 1/4"-20 threads, that you can use to mount a monitor or a grip. (or a tascam in an awkward way as I do). The sides are also a snug fit, but they have grooves to allow access to camera strap holders, HDMI & audio ports and sd card door.
Lastly the bottom has, yes you guessed it, more 1/4"-20 and a groove for the battery door, so you can swap batteries, or use a battery coupler.
The fact that you can easily access all the controls, input and output ports is not that trivial. Many reviews that I read were complaining that this or that port was not accessible once the camera was mounted in the cage.
If you are using a metabones adapter, there are two small threads in the front that you can use to secure it to cage as well. Once the entire cage is put together it is rock solid and nothing moves. Noting. Which is why you get a cage in the first place

The last feature of the cage is an HDMI lock. The more I use the rig, I understand how foolish it was not to use an HDMI lock in the first place. Let me say this, if a port on the camera dies, it is a nightmare to replace it. And the HDMI port can easily get damaged if the HDMI cable get pulled, hit or yanked in the wrong direction. The HDMI lock connects to the cage and locks the micro HDMI cable in place. It can not be pulled away, it not not be knocked sideways. It is there forever and ever.
TOP HANDLE
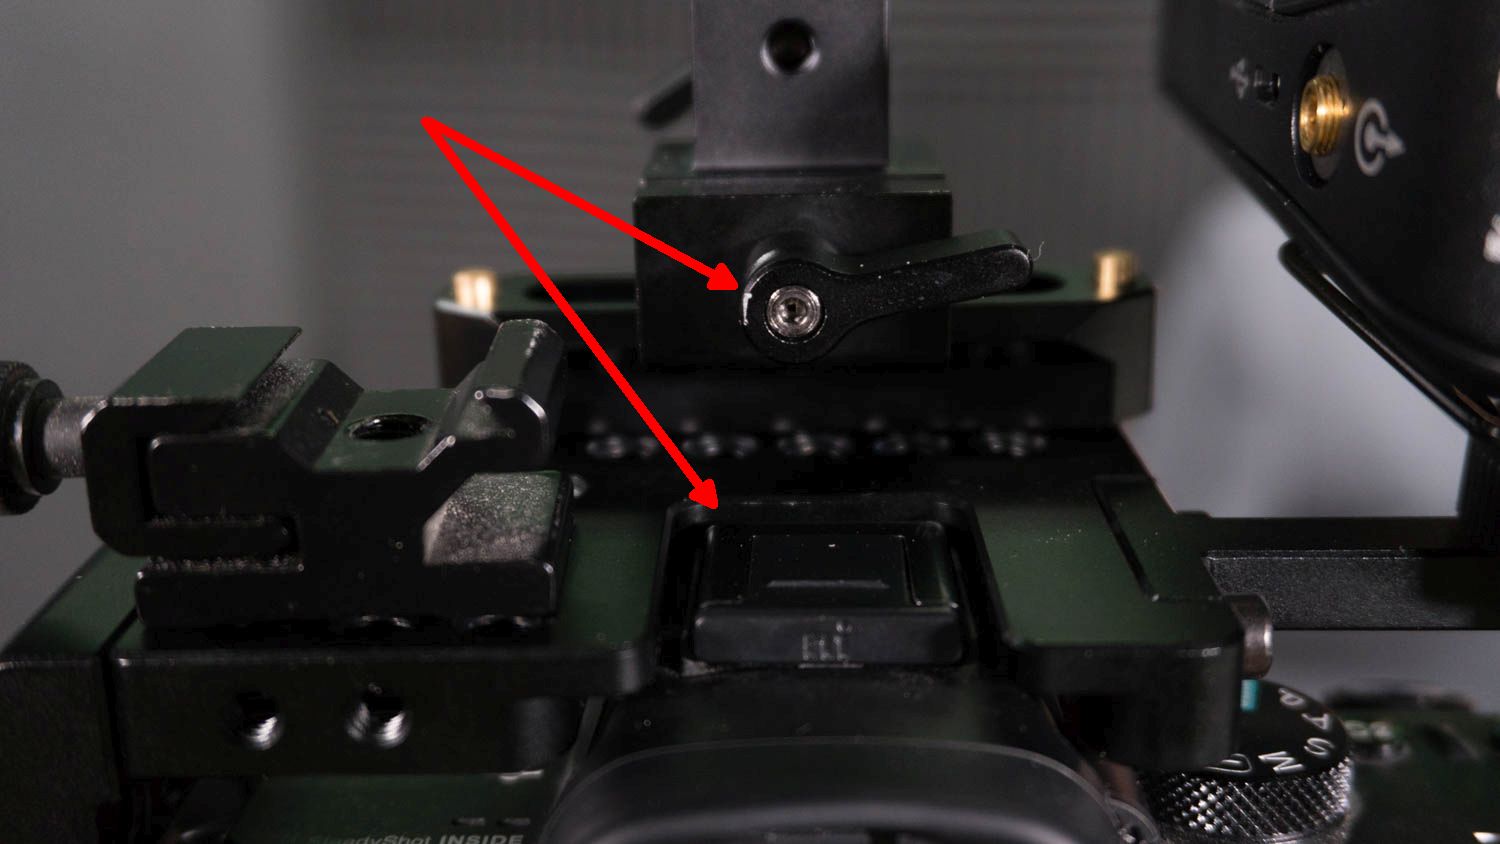
I really like the idea that the top handle on the cage is not using the hot shoe. THose connections never feels really secure for me. Instead, the top rail here has a dedicated mount. The kit I am using uses a small bar that connects to the cage. Once the bar is installed you can place and remove the top handle without using tools. If you take your camera off the tripod a lot, you will grow to love the fact that you can easily add the handle for low angle shots.
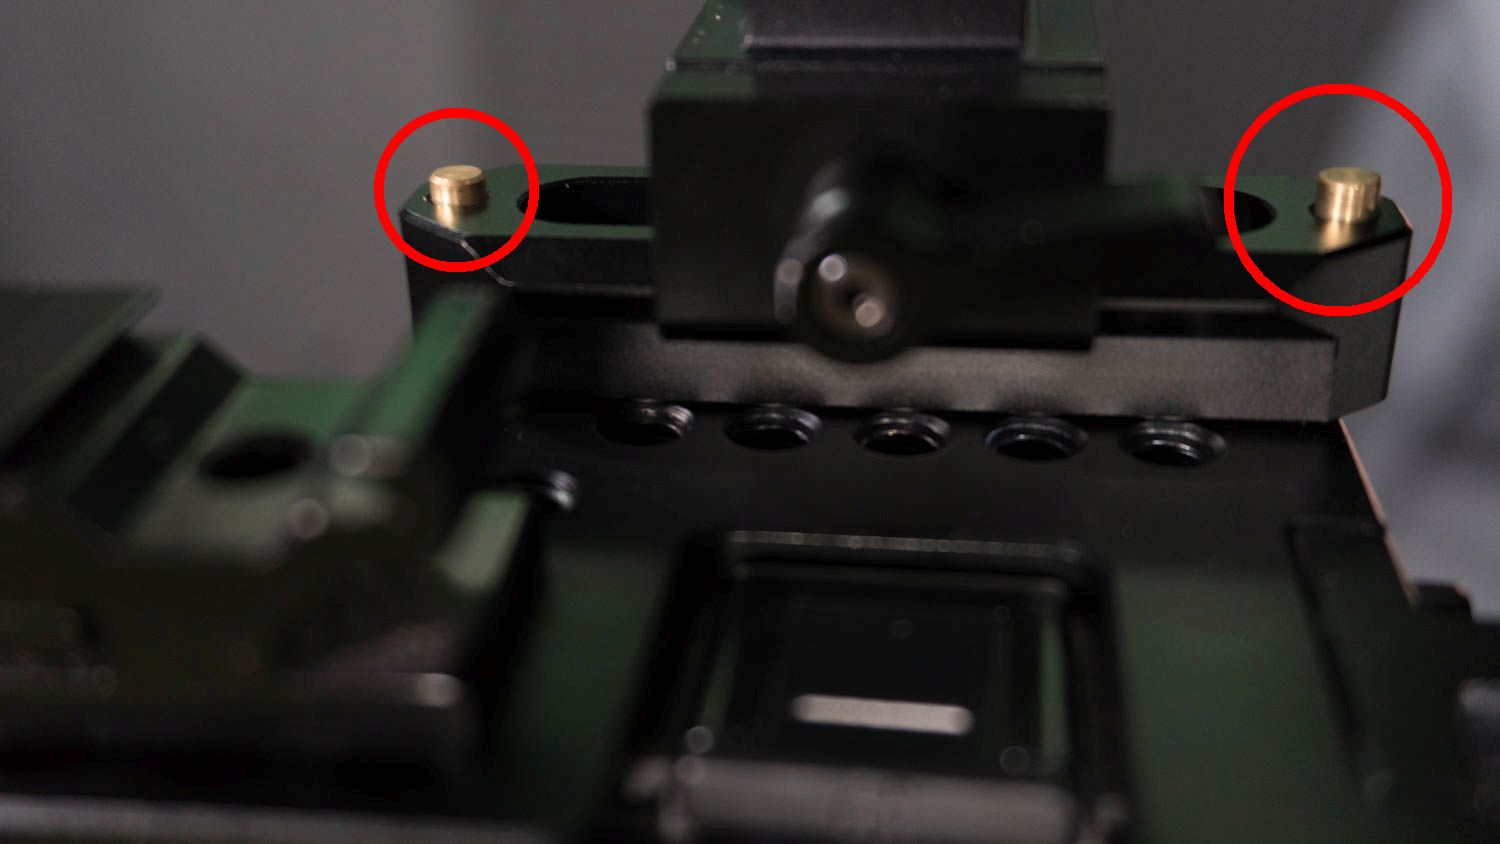
But, here is the cool thing. the handle can’t accidentally come off the rail. There are two small spring stoppers that you have to physically press to detach the handle. Nice!
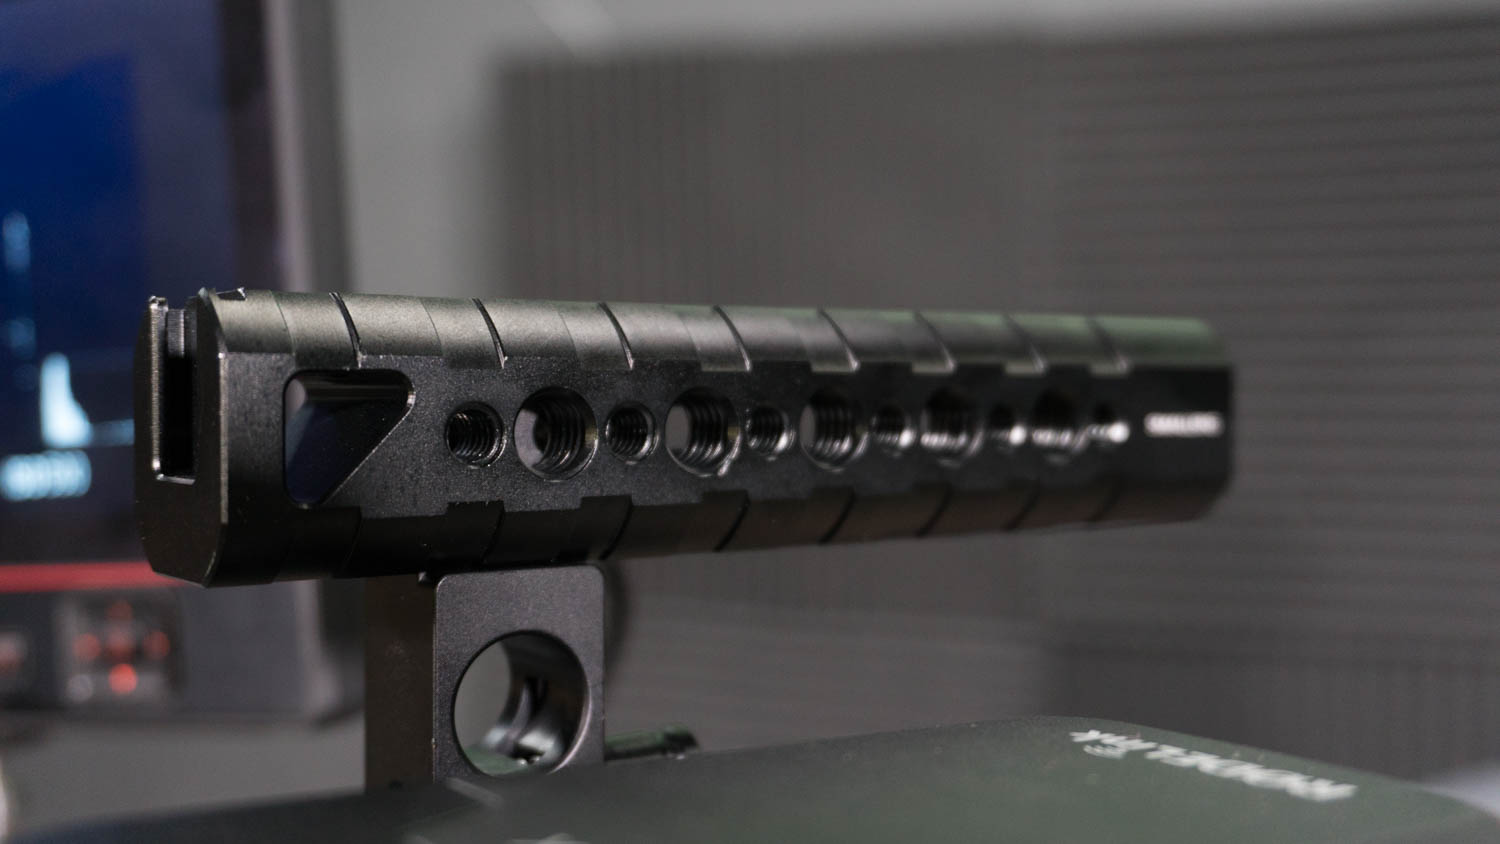
As for the handle itself, guess what? More 1/4"-20 threads. If you were paid with 1/4"-20 threads, you’d be filthy rich. (A word about 1/4-20: you will never actually use all the threads on the cage, but the fact that you have so many of them gives you lots of option when you decide how to mount your gear).
It also has an upwards pointing cold shoe mount on the back (this is where my Rode receiver is going now), and a “regular” cold shoe on the front. I use this when to mount my Rode VideoMic Pro to get just a tad closer to my subject.
The Rails
If you are using a follow focus, you probably want the rails as well. I like the rails. They are solid and have threads at the end so they can be extended (say for a shoulder mount). The rail mount can be height-adjusted which is nice.
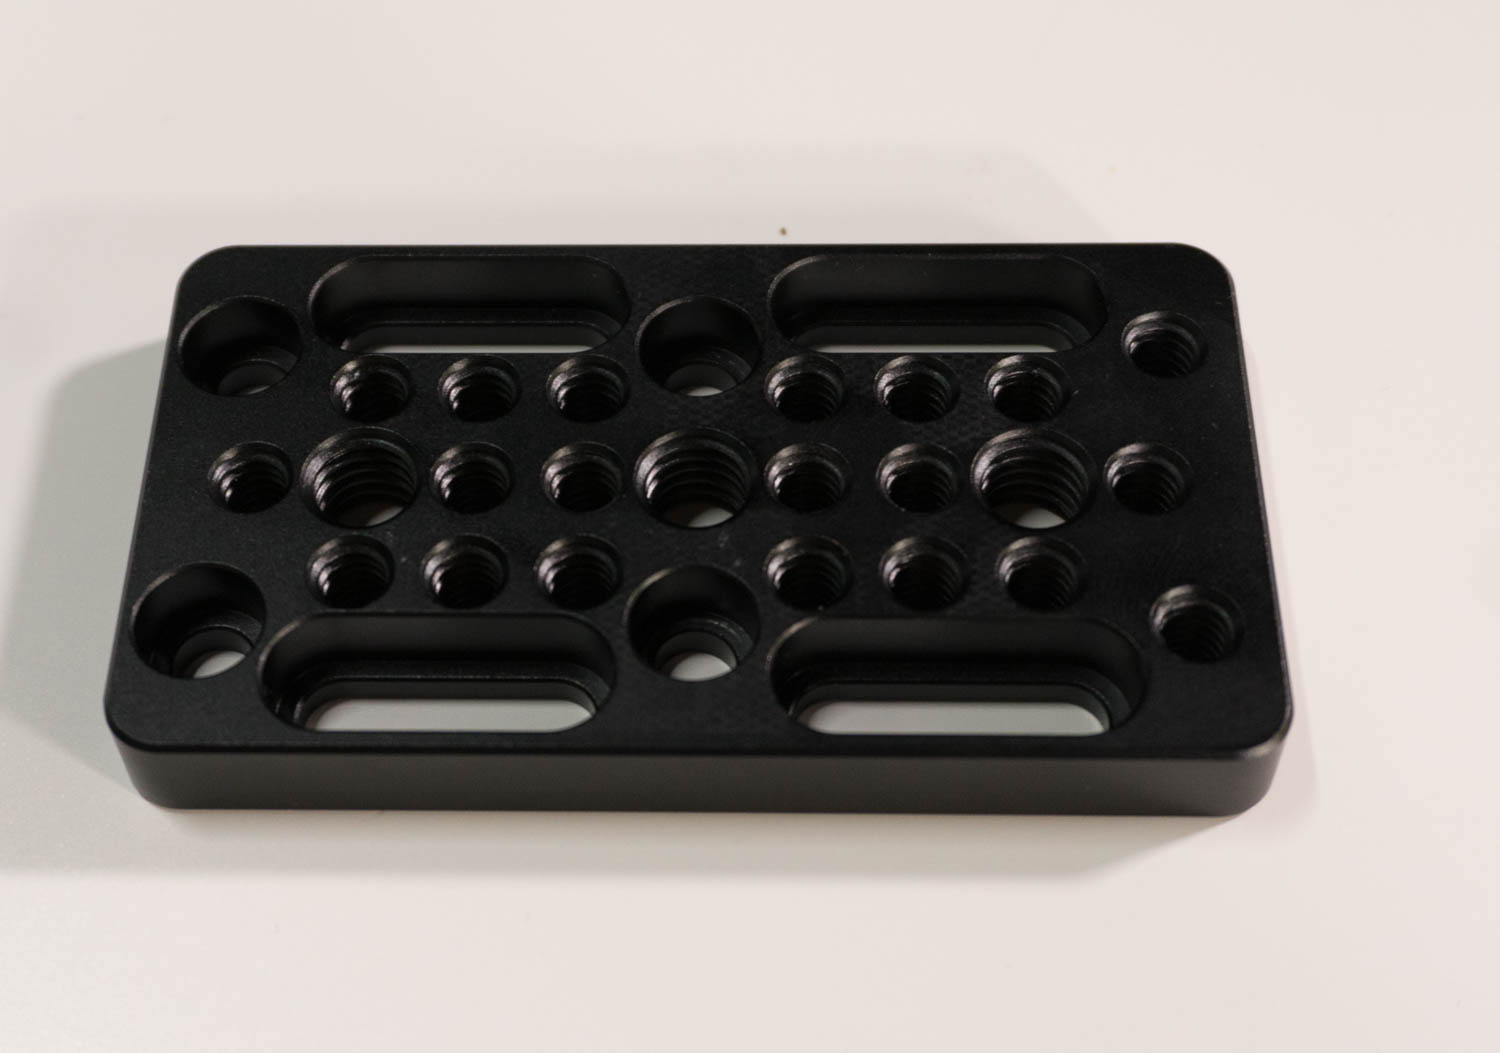
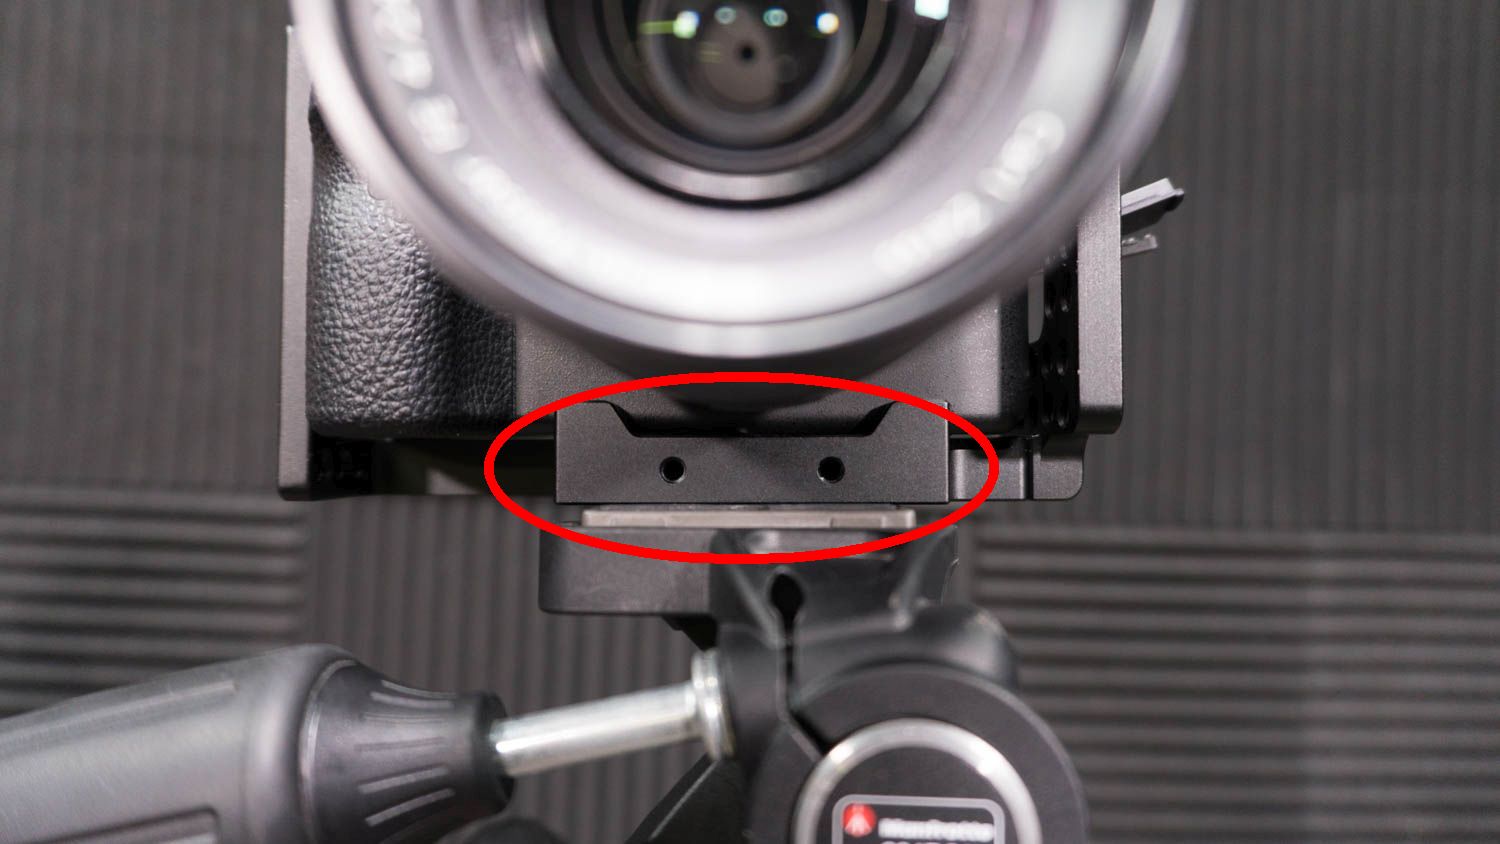
The rails also come with a base plate which you can use to attach to another system say a video tripod plate. There are three mounting positions and the plate can be mounted in those three positions for better balance.
A Conclusion

All in all I am very happy with the cage. It feel to have much more value that what it costs ($255.90). Here are a few variations I tried. I am still figuring some of this stuff out, so I may still move things around.
To conclude, my main likes are
- Rock solid cage that provide plenty of protection
- More mounting points than you will ever need
- Clear access to all camera controls, battery and ports
- Detachable top handle
- Completely protects HDMI port
[SmallRig’
Sony A7II camera cage | $255.90 on CoolLCD site]